1966 Chevy C-10 Monthly Update Links
Before Pics | September 2010 | October | November | December | January 2011 | February | March | April | May | June | July | August | September | October | November (DONE!) Well, one more update….December (new tonneau cover) January 2012 (featured article Custom Classic Trucks – February 2012 edition) Misc Pics (2013-2014) Misc Pics 2015 – Car Shows | My Car,Truck, Motorcycle Videos 383 Stroker and 200-4r Specs (Dyno Video!) | My Cab Caddy |
My 1966 C-10 Videos on YouTube| Specs | Previous frame off on my 1963 C-10
See other pics “walk around” video added 5/26/15
Custom Classic Trucks (February 2012 edition)
November 2010
Hood is final primed and ready to final sand and paint
Front suspension coming in soon. Control arms are painted, detailed and put back on.
November 2, 2010 – Front end coming along. Waiting for my big brake kit come in from CPP.
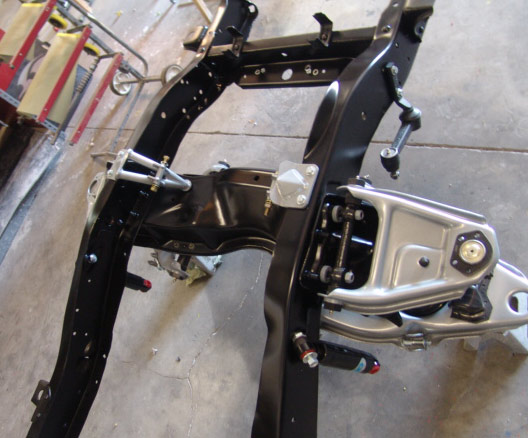
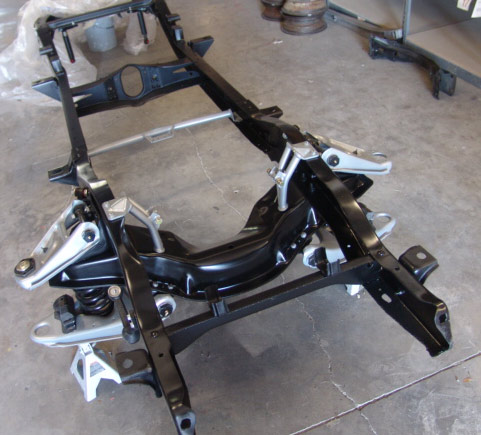
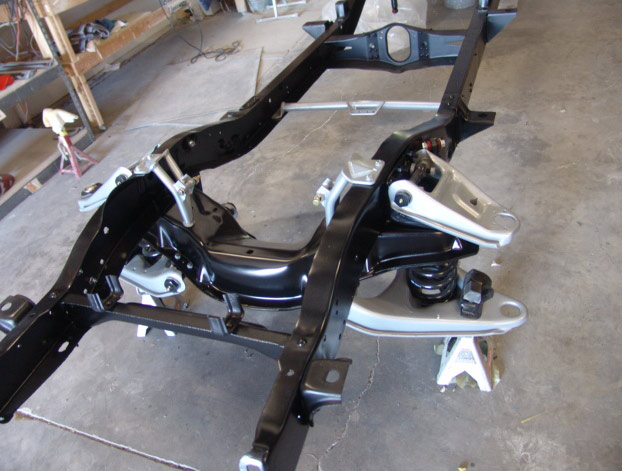
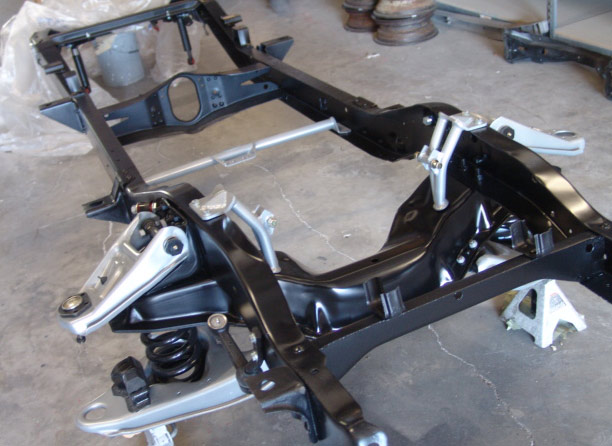
The crossmember you see in the back will be replaced with a CPP unit. Rivets are cut and that’s ready to come out.
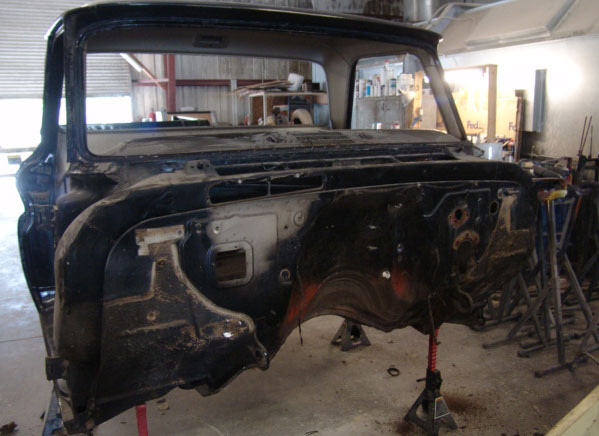
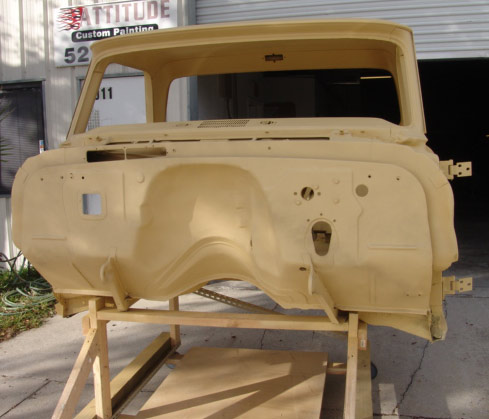
Firewall is bare. A lot of these holes will be welded up.
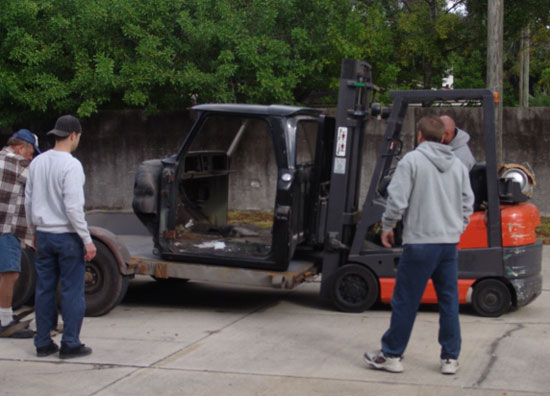
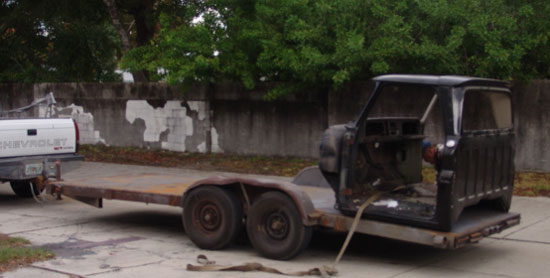
November 5,2010 Off to the sandblaster.
Hope the cab doesn’t come back looking like a piece of swiss cheese…lol
Actually, the cab is extremely clean. 0 rust above the front windshield. 0 rust on the cab corners.
The worst area is where the windshield wiper motor mounts to the cab.
Weird place for it to rust!

Swaybar installed

New big brake kit ready to be installed (13″ rotors)

Power steering box in place along with stainless steel brake lines
Waiting for the dropped spindles (back-ordered)
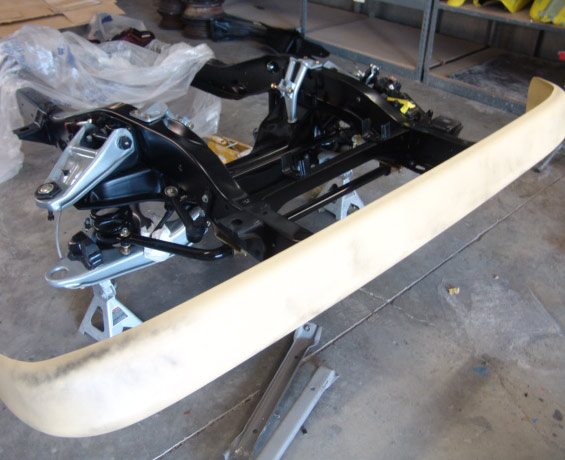
“Smooth” front bumper
November 19th, 2010
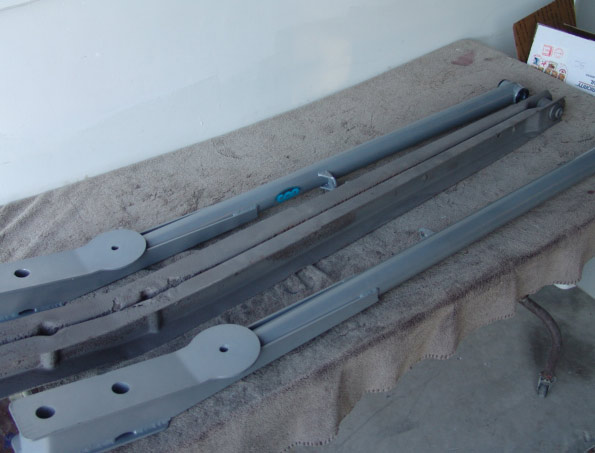
New tubular trailing arms versus the original style
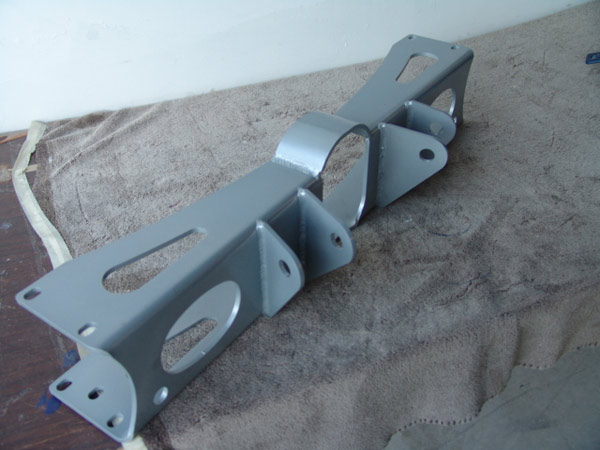
New ‘dropped’ trailing arm crossmember. Note the exhaust cutouts
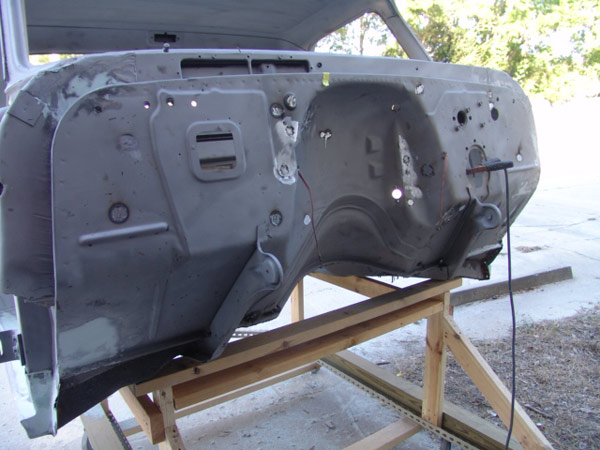
Start welding holes for a ‘clean’ firewall
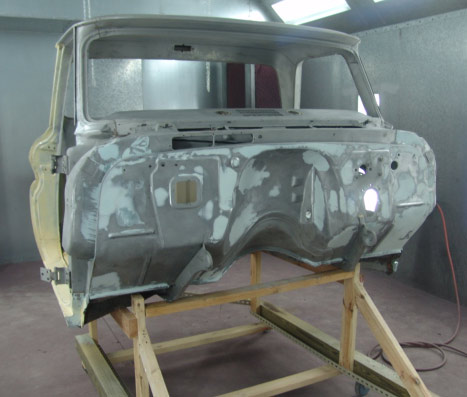
Ready to prime 11/26/10
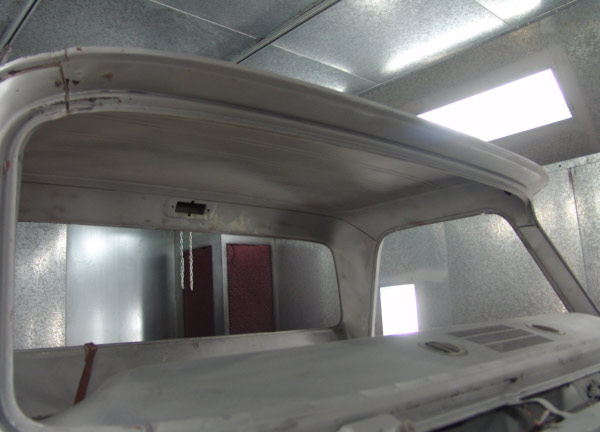
Zero rust – the black spot on the left is a paint spot that was left from the sandblaster
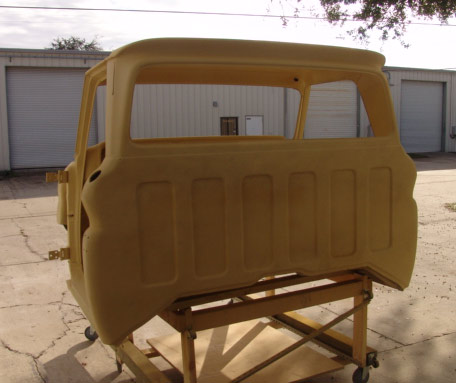
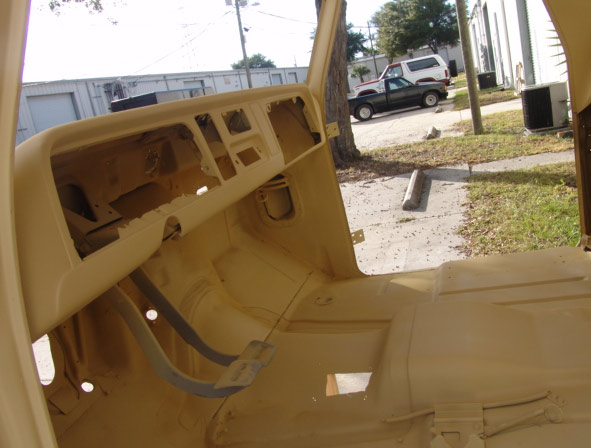
Primed
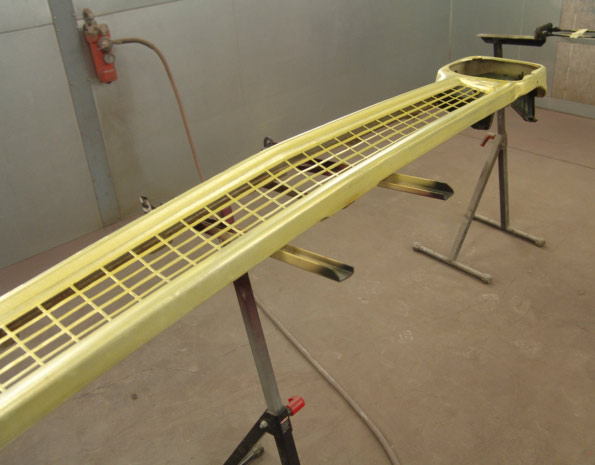
This is the original grill. I sanded it and chromated it – this grill only weighs 3 lbs.
Tools, equipment, paint and more.
Auto Body Store

Comments