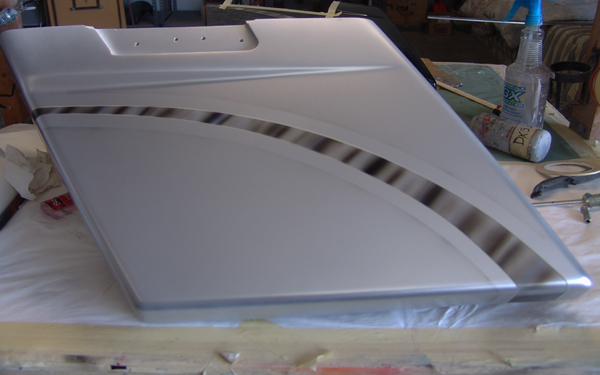
In our first step, we have sprayed a silver base on the complete bag.
This will ultimately be the silver shaded stripe at the end of the paint job.
Once the silver is painted, lay out where you would like your ‘dividing’ stripe to be. Once you do that.
You can mask off both sides (top and bottom). Then add your shading. You can see a little shading about 3/4″ away from the main stripe. This is just overspray that will be covered later. There was no need to mask up the complete bag.
For shading, we airbrushed some over-reduced black along with some over-reduced white.
Go easy on the white. White is done last.
Also, note that we did our layout for the stripe with 1/16″ tape. It’s important to leave this on throughout the painting process.
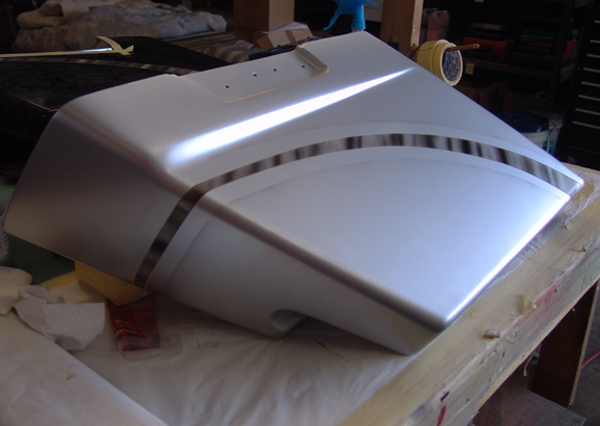
Another image showing the stripe. Note that the 1/16″ tape is on the very edge of the shaded stripe.
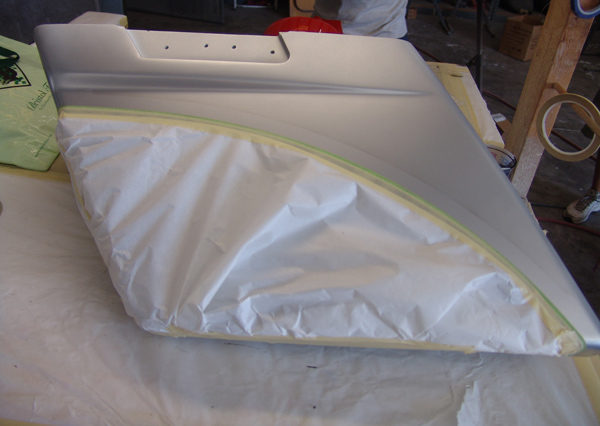
In this step, you want to mask off the complete bottom of the bag along with the stripe.
We did the masking from the TOP 1/16″ down.
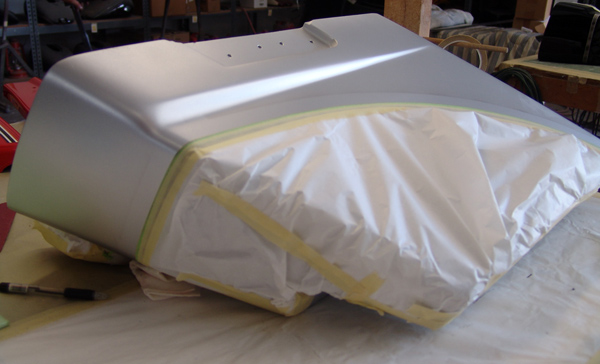
Another image of the masking.

The first main color we will spray is black.
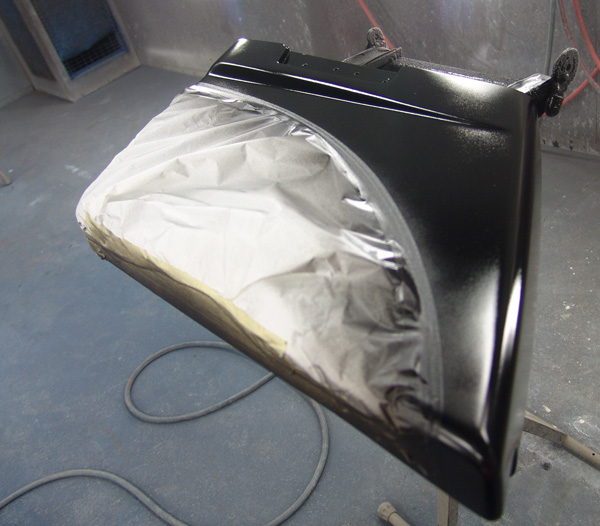
Another image of the black basecoat.
Once the black dries, you will need to remove all masking that you put on in the above step.
Important— Do not remove those two 1/16″ pieces of tape that you laid out the stripe with.
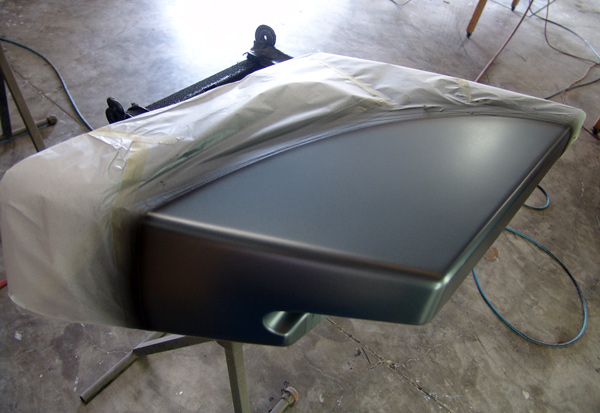
Once you mask off the top section (where the black was sprayed), from the bottom 1/16″ tape line UP, you can spray your bottom or lower color. In this paint job, the color is a gray metallic. Also notice that we added a shaded stripe directly under the masking. Once done, this will give a 3D effect.
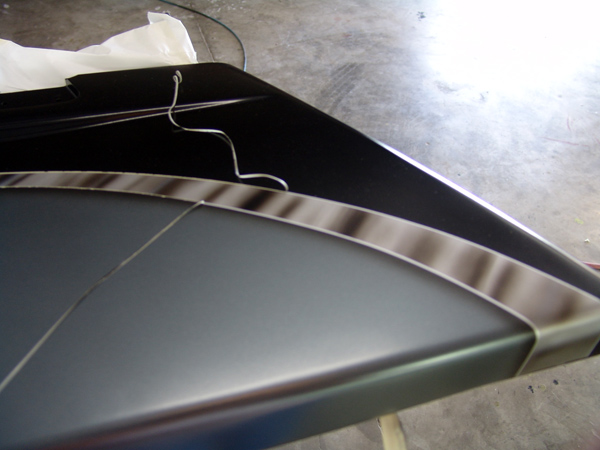
Now you can remove all masking tape including the 1/16″ tape stripes. As you can see in this image, this is where it comes into play that the 1/16″ tape lines were left on throughout the process.
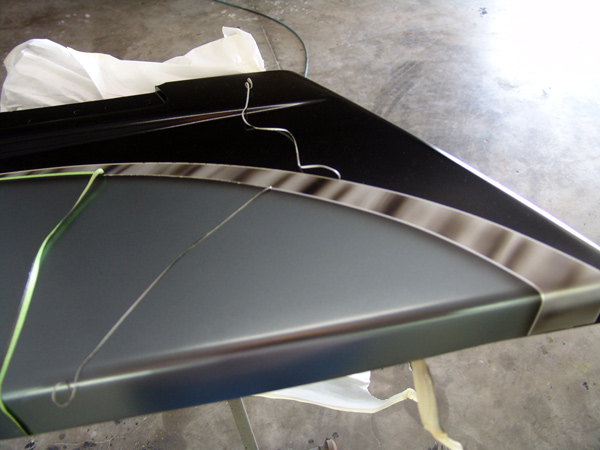
Another image of removing all the tape and paper

We’re going to go ahead and clear this bag. This will give it protection in case something goes wrong when we do the skulls.
You would hate to waste all this effort at this point.
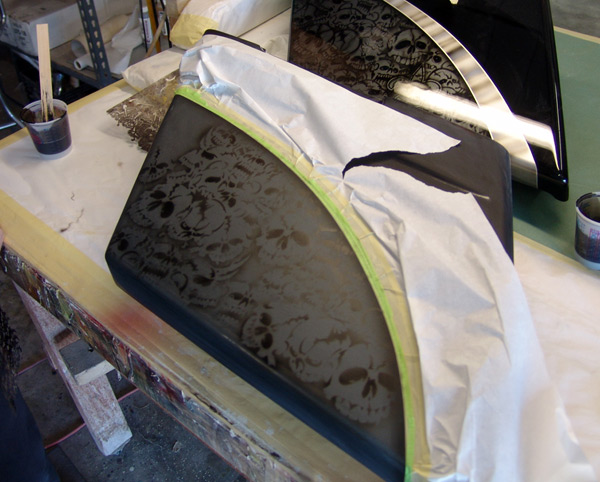
Now we’ve remasked the top portion of the bag. Here you see have have started adding the skulls. The initial skulls were sprayed on using a stencil. Above the bag we are painting is the bag were are trying to emulate. This is one we did before, but had damage to it, so we had to redo another one for the customer.
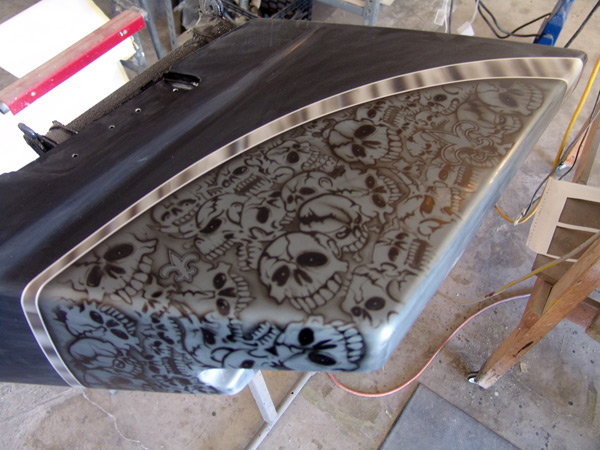
Once you do your ‘detail’ airbrushing’ you can remove all masking materials.
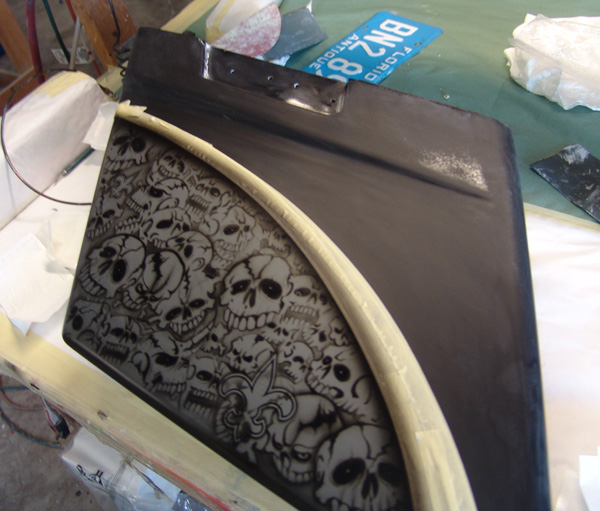
I decided to add a bigger shadow so I remasked again. If I did a bigger shadow in the above step where we add the shadowing, I would not need to do this. Normally the smaller shadow would have been ‘okay’, but with all the black skulls and skull shadowing, it kind of hides the stripe shadow.
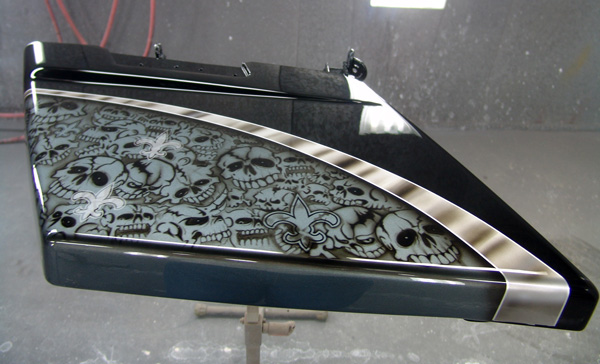
Here you can see the bag was clearcoated. See how that shadow really gives it a 3D look and adds depth.
Notice we added a couple ghost Saint logos (obviously a New Orleans Saints fan)
A couple more images below
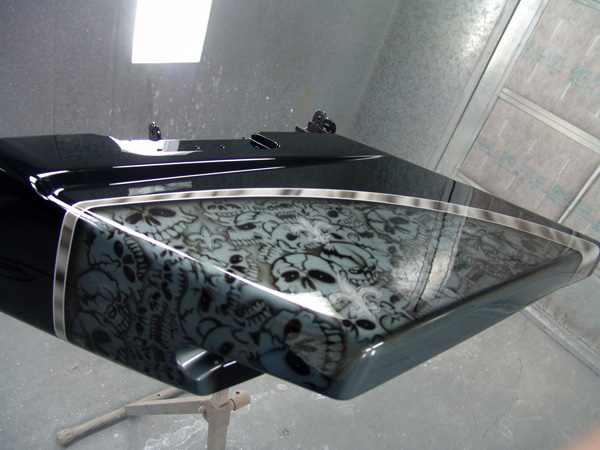


This is after it was buffed.
Hope you enjoyed this How-To!
Tools, equipment, paint and more.
Auto Body Store

Comments