How to do a basic checkered paint job
How to do a basic 'checkered' paint job
There are other ways of doing this, but this is a great way to learn the basics of a checkered graphic job.
One other way of doing it is instead of using the masking tape to mask up the checkers, you can use Auto-Mask to mask up the area and draw your checkers. This way, you can give some 'wave' action to it.
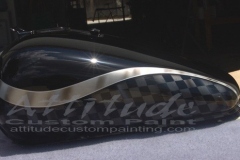
This How-To is basic step by step to do a 2 tone Checkered paint job with a silver shaded stripe.
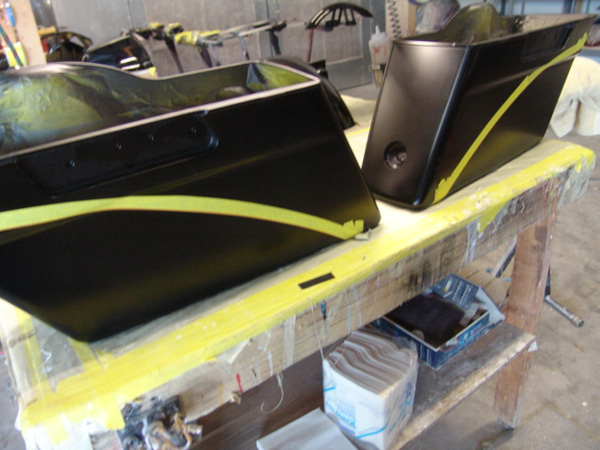
First you want to layout where the edge of the base color and the checkered graphics are going to be.
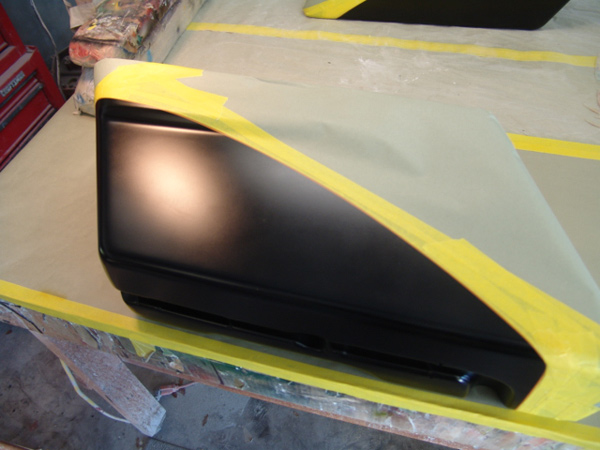
Mask this area off
Now lay either 1" or 3/4" horizontal and vertical. Once you do this, you can make things easy for you by adding "X" to each one that will be pulled out in a later step
Take a nice sharp razor blade or use an Xacto knife to cut on the edge of ALL edges of the tape
going horizontal and vertical
The tip here is not to just cut out each square. Just go all the way horizontally and vertical on every edge
DO NOT go past the edge you first laid out where the 2 areas meet (checkers and base). Otherwise you will have cut marks showing up later.
Also, be very careful in cutting these lines. You don't want to have too deep of cuts to contend with later
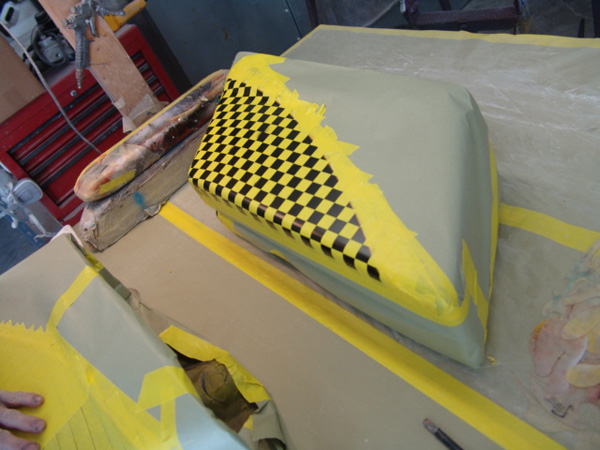
Now very carefully pick each square out. These would be the squares you marked with an X in the earlier step.
Again, be VERY careful in picking each square out.

Now we are doing the other bag.
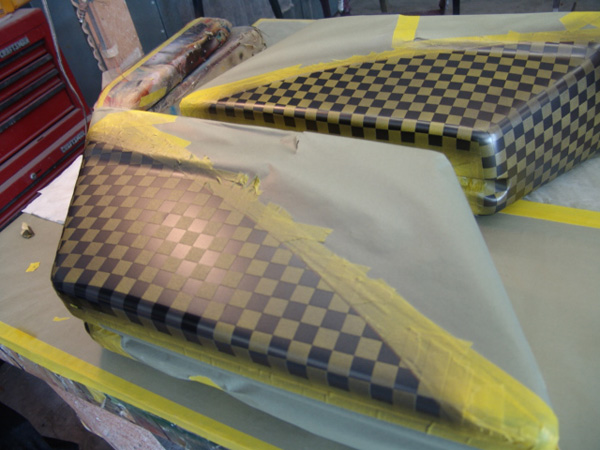
Spray your color of choice to cover the checkered area. In our case it is a charcoal.
If you are doing this in a metallic color. Go easy on the paint. Otherwise you will have some knarly edges on the squares
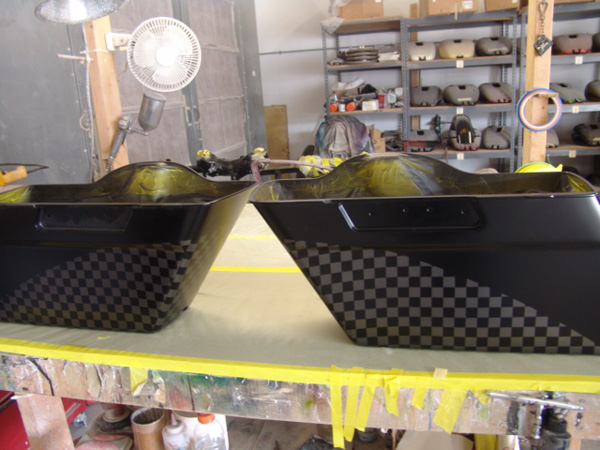
Here they are with all the mask removed
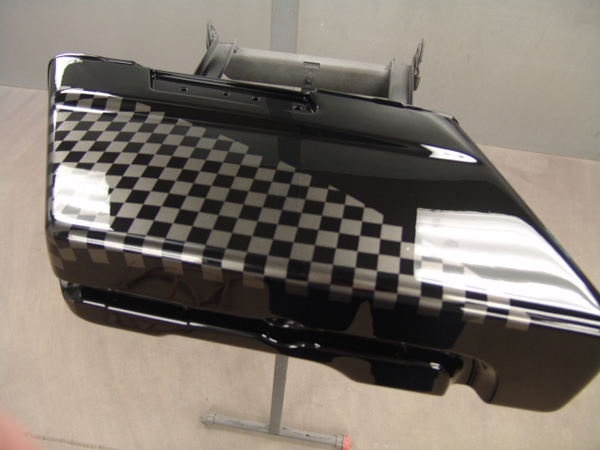
Go ahead and clearcoat. We used a regular topcoat clear. You can use the clear of your choice though
Once this is done, resand once it is cured (normally 1-3 days). Then lay out an area for a stripe.
Spray the stripe silver. Then outline the very edge with 1/16" or 1/8" tape.
Then add your shading. We use an over-reduced black and white (go very easy on the white)
We also add a small drop shadow right below the edge of the silver stripe (over the checkers).
Along with some shading in the checkers.

Once clearcoated, wetsand flat and buff
The finished product (sorry for the dark pic!)


Comments