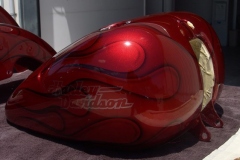
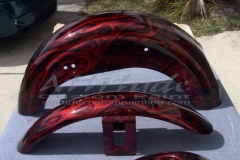
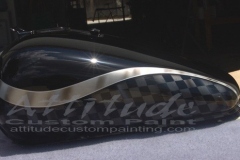
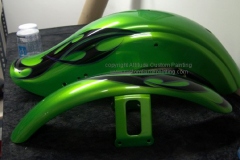
This is a special effect that we created using the same principle of how to do marble.
Except we are not using marble. We pretty much do it backwards of the way it's supposed to be done.
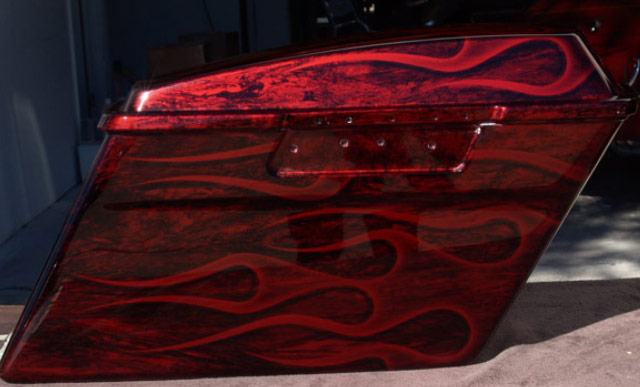
This eliminates the problem of having the adhesion problems that 'marble' is known for. This also makes an effect that stands out more than marble and keeps other painters and viewers guessing how it's done. You can control how dark or how light you would want the effect to be. I personally like it darker, but on this particular job, the customer wanted the background to show more of the candy red rather than the black areas.
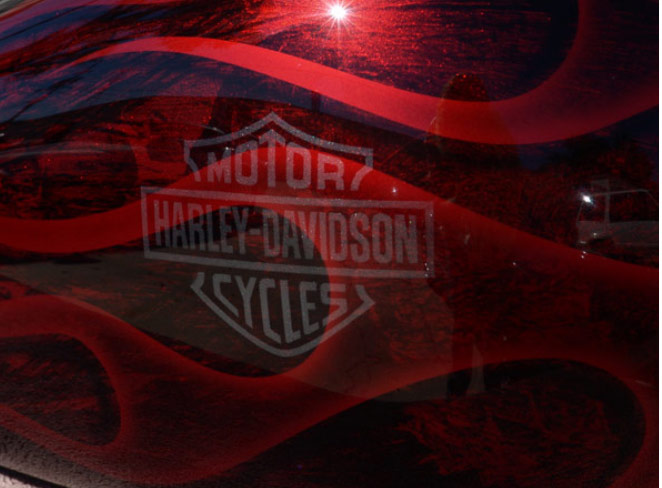
The last pic shows what it would be like if you went with a darker base.
This effect looks GREAT with a 2-tone. i.e. Black top surfaces with the effect shown below on the bottom surfaces
As far as I know, I am the only shop in the country that does this effect (until possibly now!). I have not seen it anywhere else.

We'll use a saddle bag lower for this How-To. Here is shows the bag before sealer and the base. get your bag prepped. No need to worry about any scratches showing through the base as this is a busy paint job!
So 320 will be fine

Spray a medium gray sealer (we use HOK and just mix the white and black sealer to create a gray)
Then we spray a few coats of silver. Then we spray a couple coats of interclear.
let it sit for a 1/2 day or so

Here comes the effect. Normally with 'true' marble, you would spray it on the panel and then lay saran wrap over it creating an effect. Here we spray some over reduced black onto the saran wrap. Here you can see my bodyman and my painter doing this process. It always helps to have a helper on hand. Unlike true marble which gives you a little time to do the effect. The black on the saran wrap dries fairly quickly.
As you can also see, my painter decides NOT to use any gloves. By the time all parts are done, his hands are black
I would definitely suggest wearing gloves if you are the applier

Here you see how it's laid on. You can actually get some very trick patterns doing this especially if you are doing a darker base.

Here you can see how we keep the base lighter. Normally you have to do a couple passes with the saran wrap. This DOES take a a little practice to get neat and fairly consistent shading.
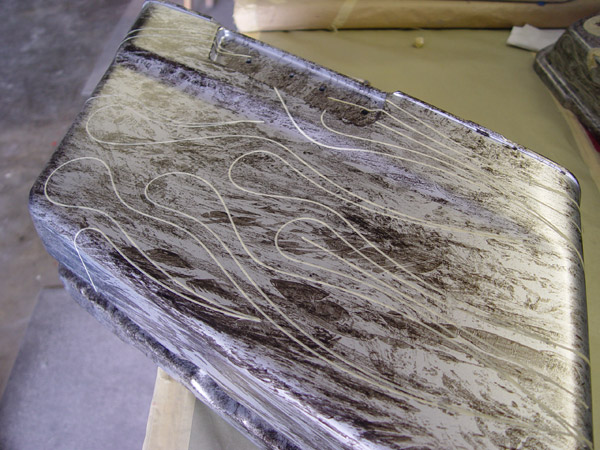
Now you can do a flame layout. You can do a graphic layout if you wish

We are doing a ghost flame job on this job. So lay out your flames, mask them off, and airbrush the edges. Or spray them 'solid' if you would like

Here you can see the masking removed. With a darker 'marble' base, the flames will have quite a bit contrast to what you see in the above. Again, I prefer the darker effect over the lighter.

Here you see the candy applied over the flames and the marble base. We also clearcoated it in this step.
The marble effect we do is fairly rough, so the clearcoat is necessary so we can resand it 'flat', and then add our drop shadows.

After sanding the panel flat, we airbrushed some drop shadows. Then we recleared it

Tools, equipment, paint and more.
Auto Body Store

Comments