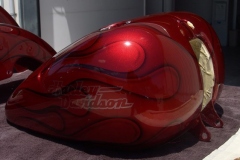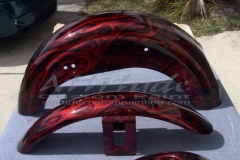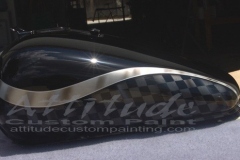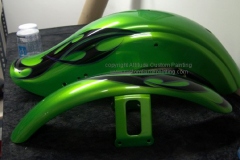


This was done using 2 different metallic colors and a solid color, all under the same candy color.
This should give you an excellent idea of how a tri-stage candy works. You can apply this process to any candy graphic or flame job you would like, including the step about the ‘pinstriped outline’.
Be sure and do a test panel before matching or even spraying any candy colors just to make sure you will get the effect you want.
I spend a good 1/2 hour adjusting the metallic basecoat under the candy just to make sure that I got the candy shade I wanted which of course, was to match the rest of the bike’s candy color. Since this was a two tone, I had to do test panels on both the metallic colors before shooting the candy.
First step of course, would be to prep the complete body. Once you have it completely prepped and ready for paint, blow off the body and mask it up


Let the base dry about an hour. once it was dried, I masked up my stripes. I used 1/8″ fineline to outline where the large stripe was going to be. Then I masked up the rest of the trike body.
Then I sprayed around the complete edge with white (you’ll see how this works out).
Give this about 15 minutes. Then I added an 1/8″ stripe butted up against my original outline stripe. Once this is done, add a 1/4″ masking tape over where the outside tape and the 1/8″ tape you just put on butts up against each other. This prevents any ‘blowthough’ from going onto the original basecoat (just for protection)
This process will end up being the white 1/8″ pinstripe that ends up under the candy


Once I spray my charcoal metallic, you can pull off all the masking paper. This is what it looked like

This is a close up of the big stripe outlined with a white 1/8″ pinstripe

Another pic before we ‘candy’

Hard to believe that the body will end up looking like the side panel!!!

After 4 coats of ‘candy’, this is the outcome of it. notice the dark ‘black cherry’ stripe and the candy body. You can also see the solid bright candy outline.

Tools, equipment, paint and more.
Auto Body Store

Comments