


by acp ·
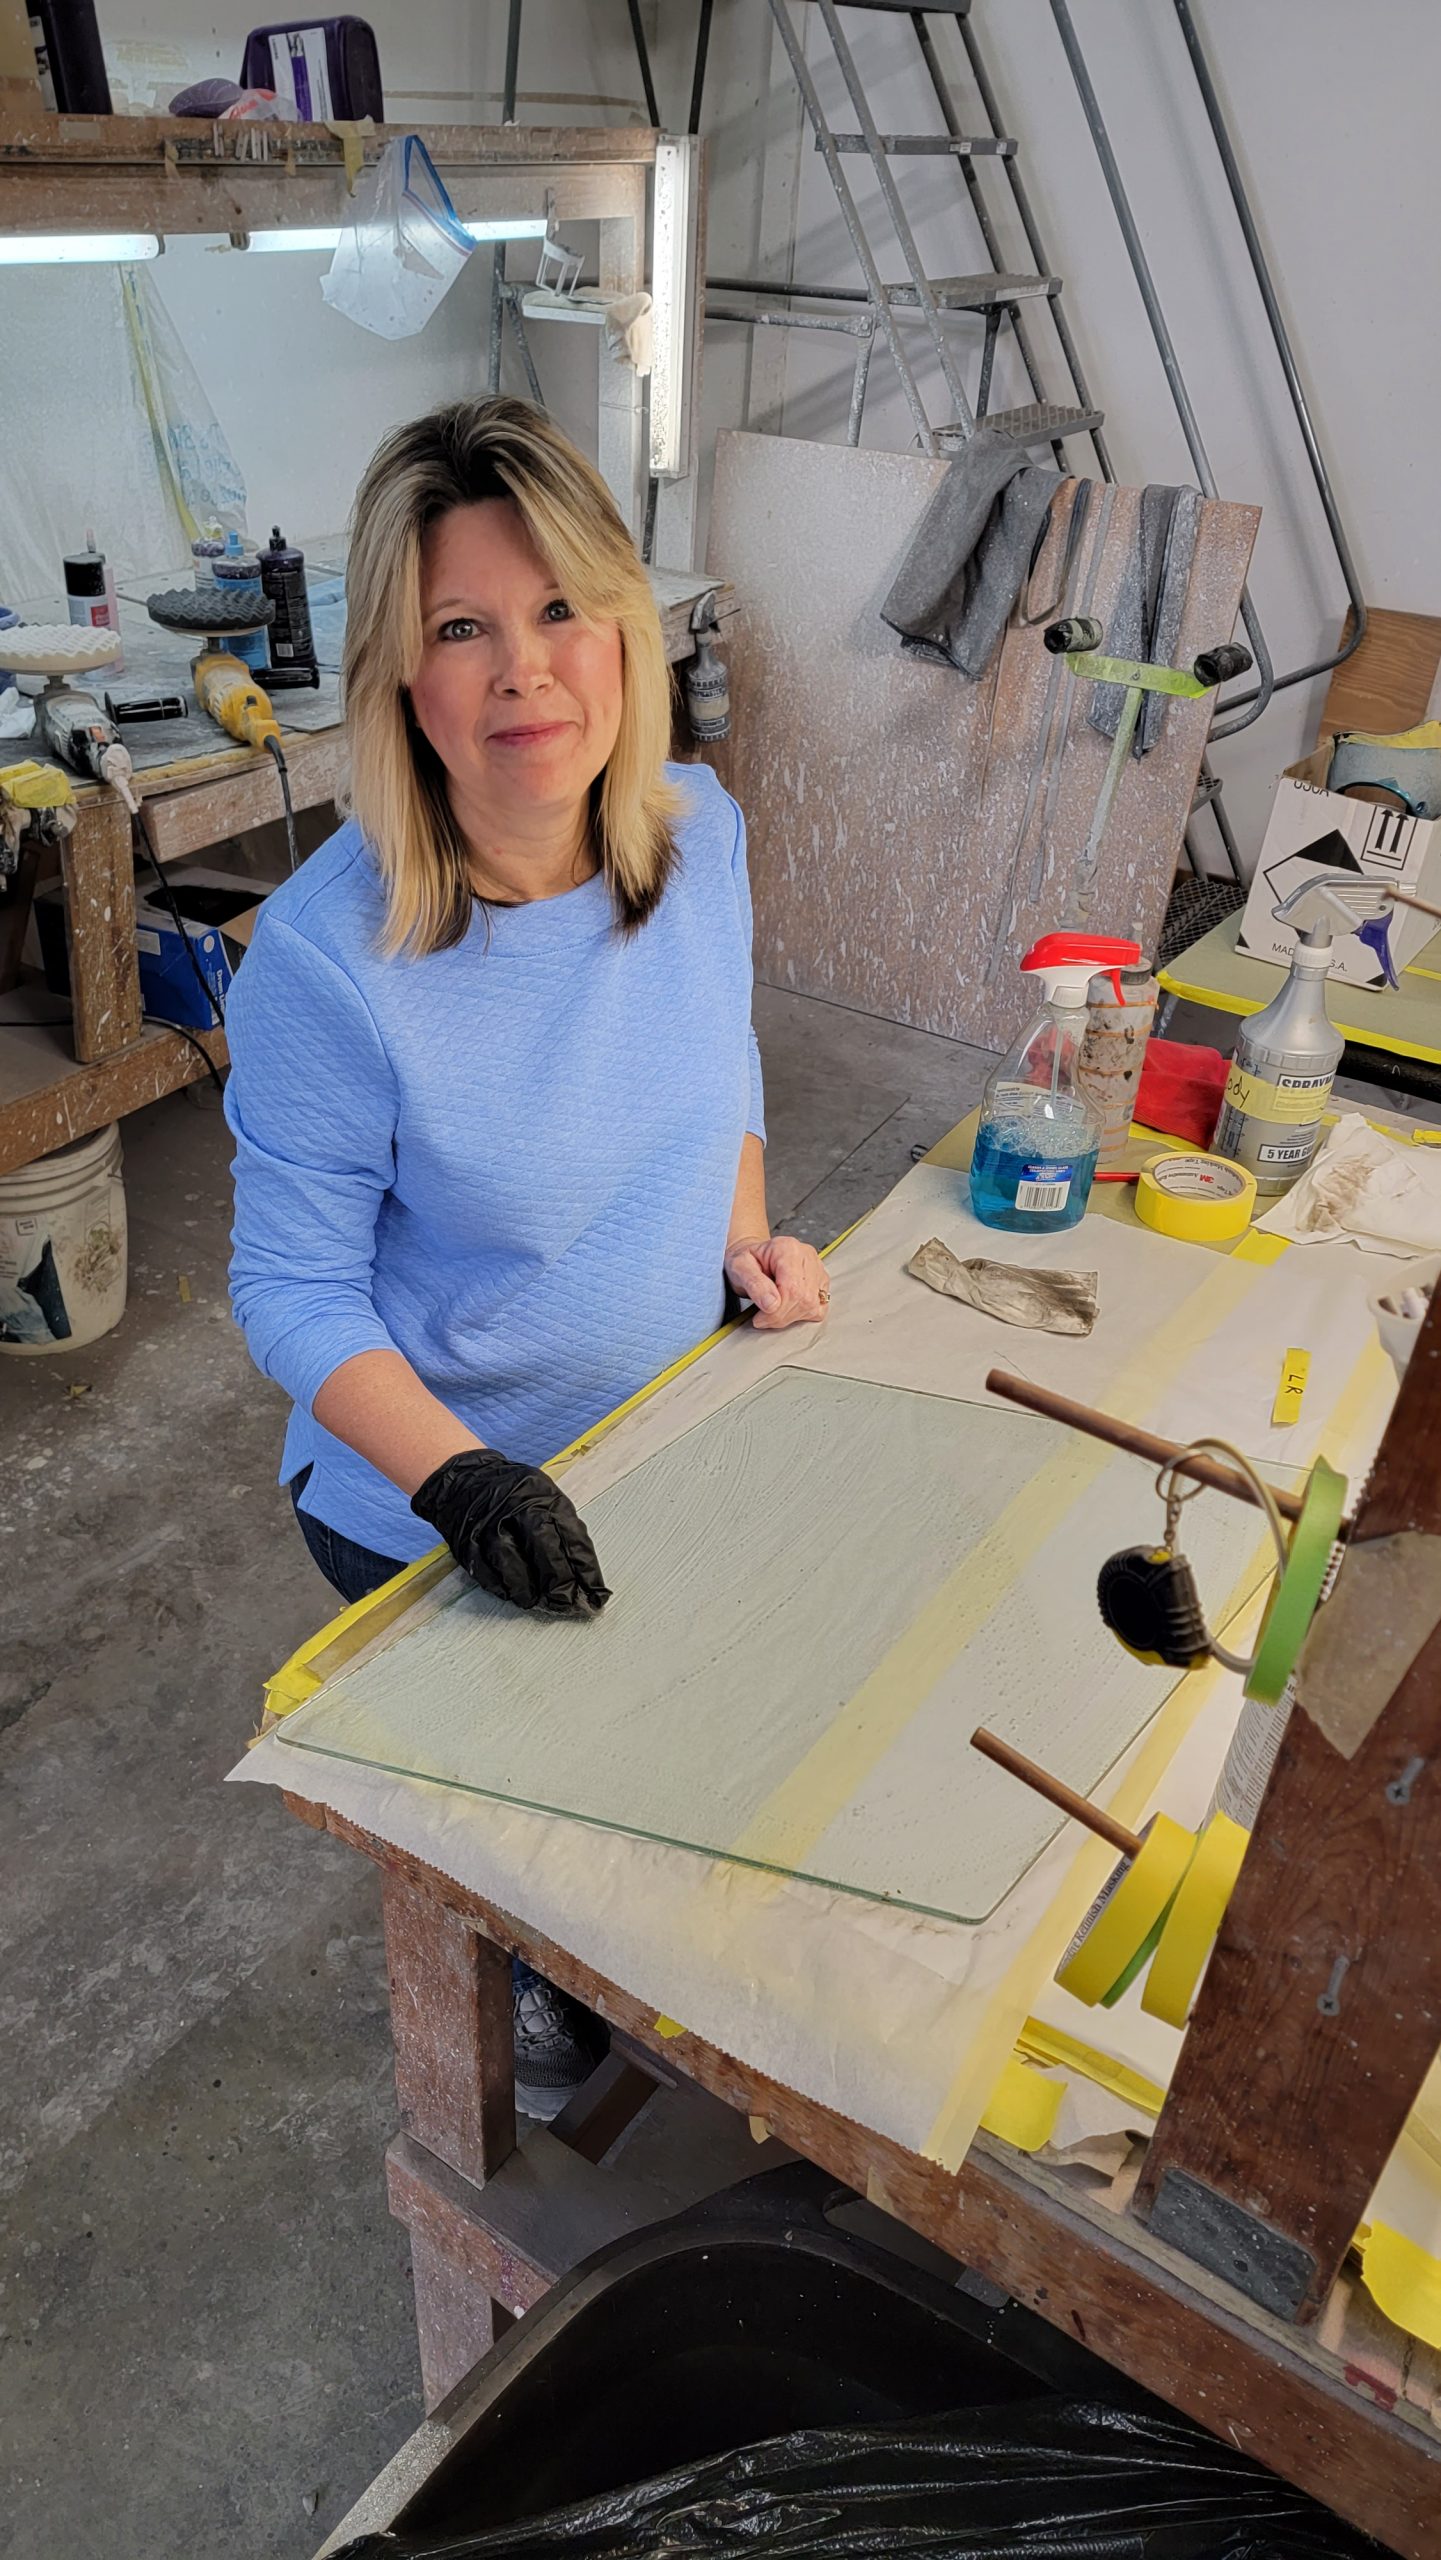
The customer wants to add a side car to his bike. The problem is, one of the frame rails needs to go through a section where the bag is. So the challenge was to create a cutout in the bag. This was done using a piece of PVC, fiberglass strand matting and resin along with wax paper.
I used the PVC to form the shape for the cutout. I simply drew the where I was going to cutout the hole. Then I had to trim the edges slightly so the PVC fit nicely. I wrapped the PVC with wax paper, and set it in the cutout. I taped all around the cutout to keep the resin from oozing out.
I cut some matting pieces to fit inside the bag where the cutout will go.
I brushed some resin into place, added the matting, then poured more over the area.
I then let the resin cure and remove the PVC.
I did some minor bodywork, primed and painted.


Tools, equipment, paint and more.
Auto Body Store


More
Comments