


Before Images (added 11/9/13) | July 2013 Updates | August Updates | September Updates | October Updates | November Updates December Updates |2014 Updates January | February | March | April | May | June | July | August | September | October | November | December | January 2015 / 2015-2016
My Car/Truck Videos | New parts bought | Knitted vinyl seat material Cam specs – custom grind (spec by Randy 460 forum – grind by Lunati 272/282@.006″ – 225/233@.050″ – 136/143@.200″ – .320″/.312″ lobe lift, (.576″/.562″ with 1.8/1 ratio rocker arms), 109 separation; 107 intake centerline.
All the links below include pics and info that shows work that was done during that particular month 9-2-2015 Article written by Chuck Green – Featured on the StreetLegalTV Online Magazine website.
Scott Farrell’s 72 Mercury Montego GT “Forgotten American Muscle”
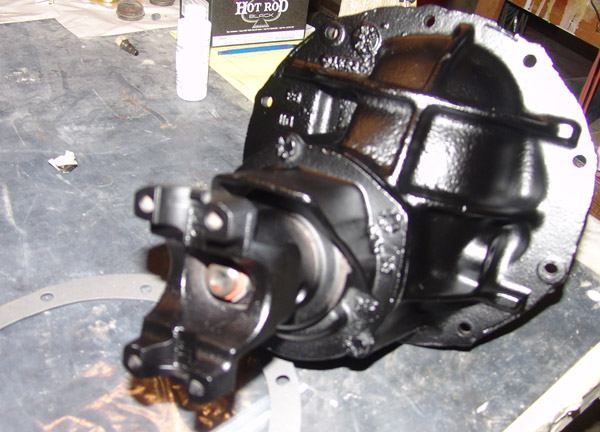
11-1 Got my 9″ center section back
11-2 Welded the panels in the left quarter. The frame is now a roller!!!!
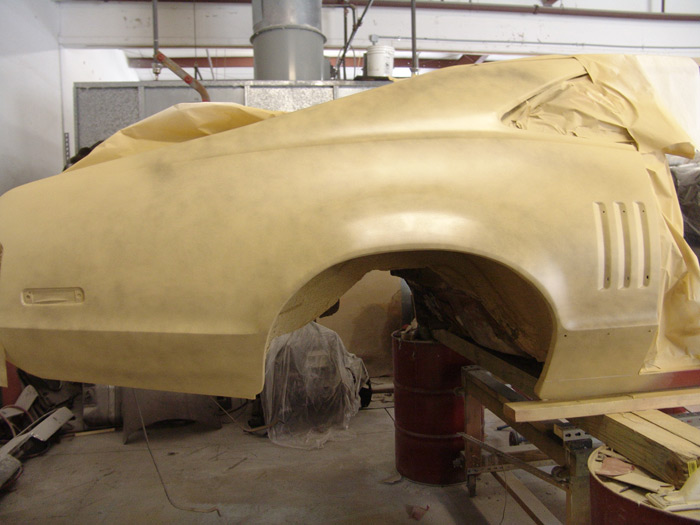
11-8-both quarters are now in primer
11-28 Inside is now painted
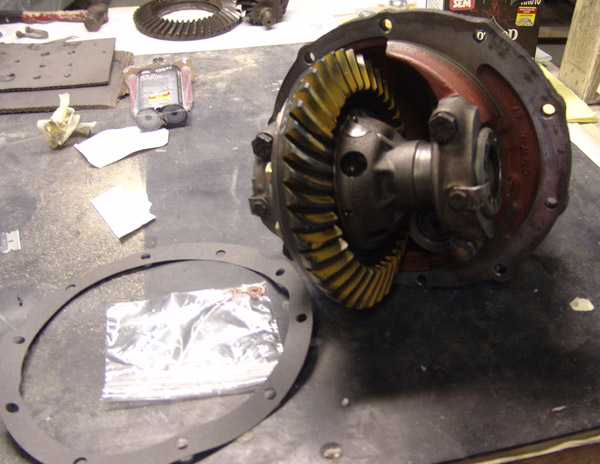
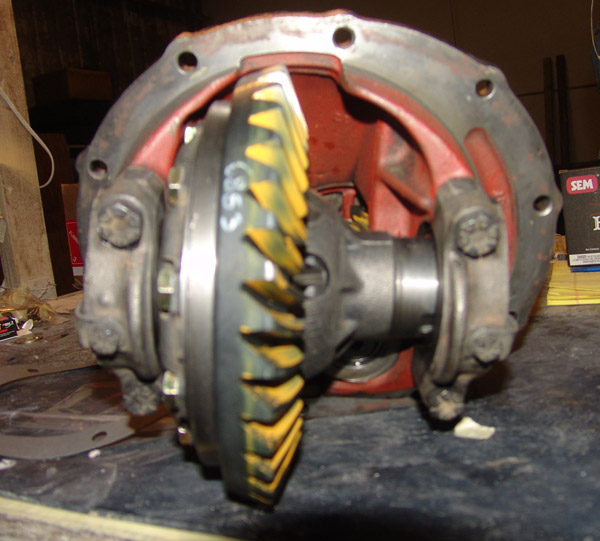
11-1-13 Picked up my Ford 9″ center section. Went with a 3.25 gear
Alan’s Gearworks in Clearwater built the center section
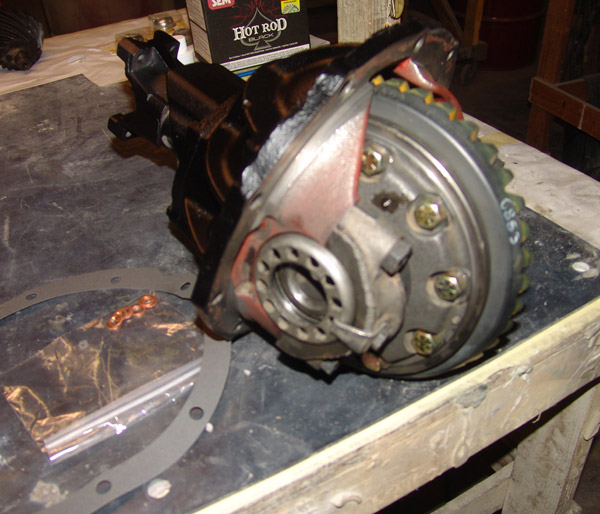
New gasket, center section, copper crush washers along with the traction lok modifier ready to go back in the rear

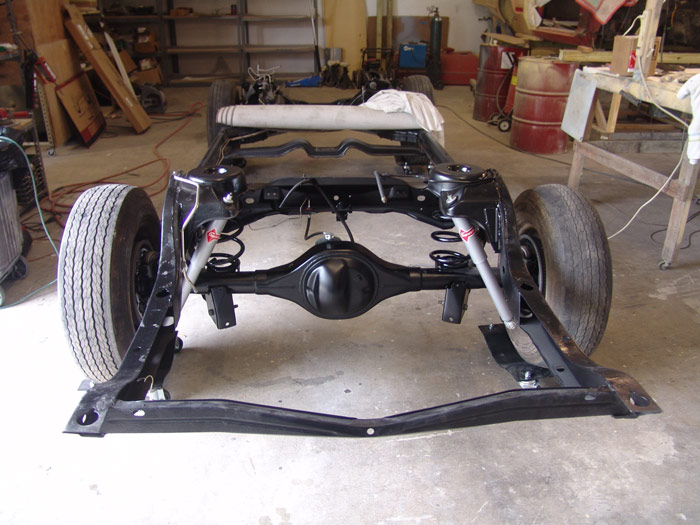
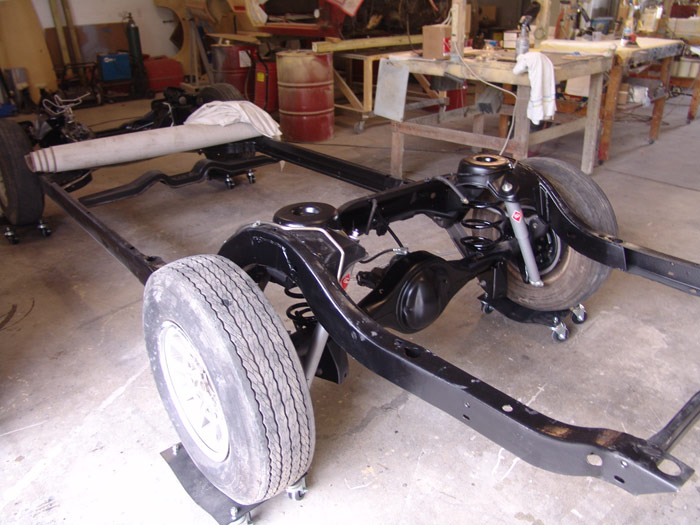
11-2-13 Installed the center section along with the axles. Had new bearings installed on the axles a couple weeks ago

Axles are installed
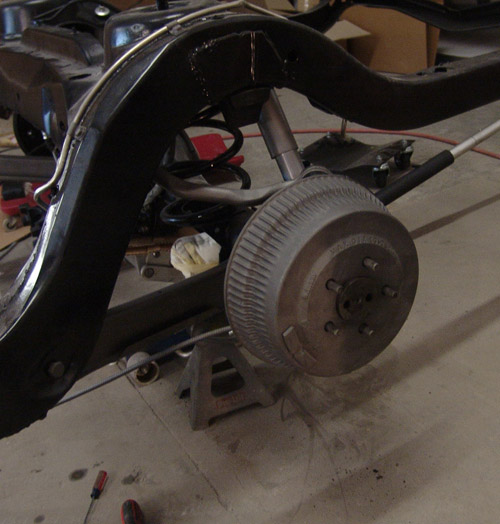
Installed the drums – painted with Cast Blast
Finally a roller
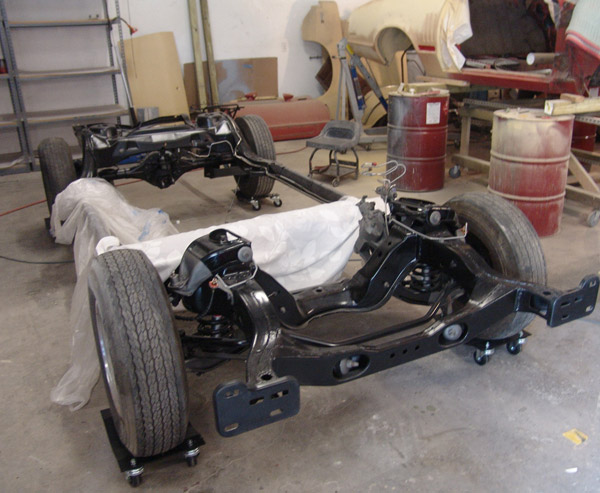
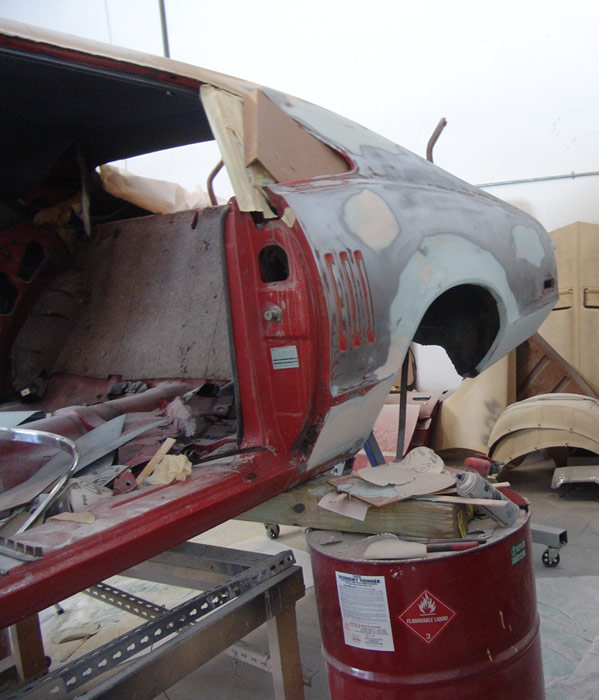
11-2-13 (3 months 1 week since I started the project. You can also see how the right quarter is coming along.
I installed the wheels that came on the car when I bought it. They are NOT the correct wheels. I’m just using these to be able to roll the frame around.
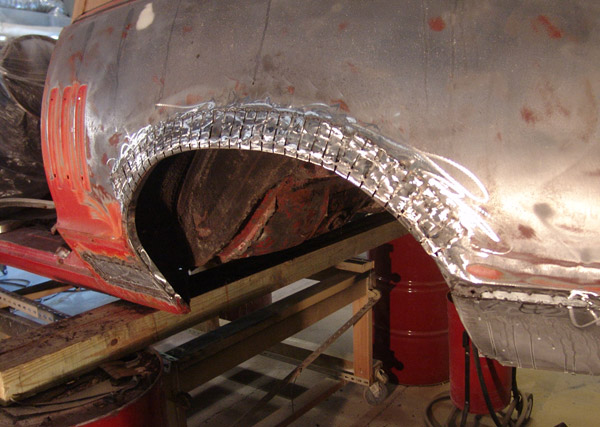
11-2 Started the welding on the left quarter. I had my body guy (Adam) do the welding.
I’ll do the fiberglass and bodywork

New panel I had made up. This has the same angles as the stock panel
Here it is all welded up, and sand blasted. I also resanded the area around it
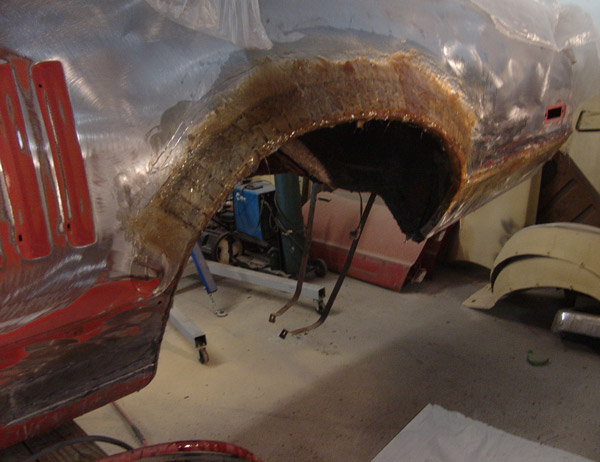
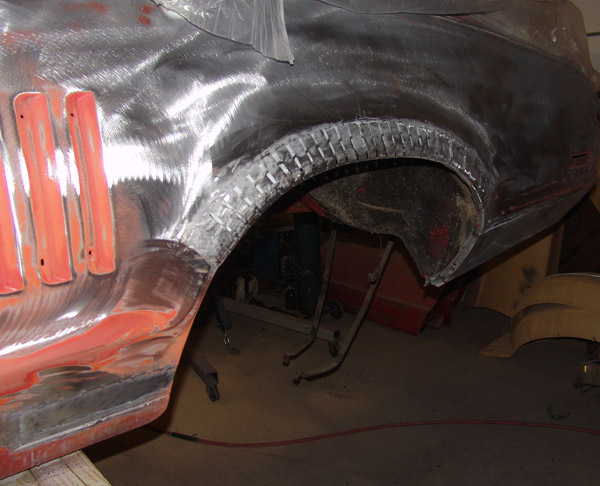
11-3 I put on some fiberglass matting and resin
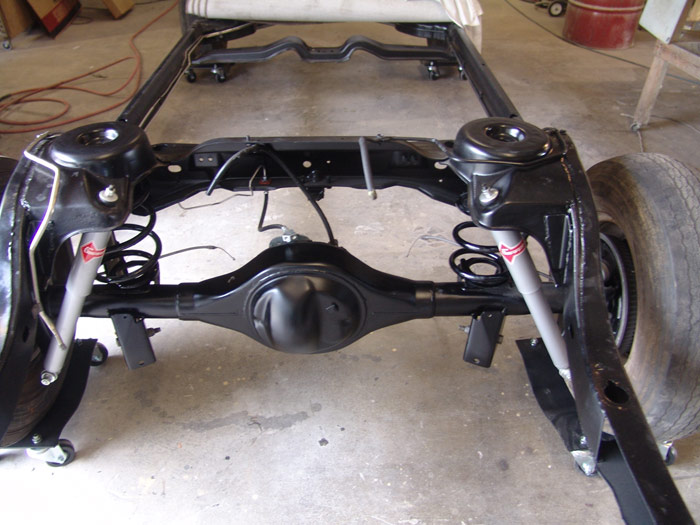
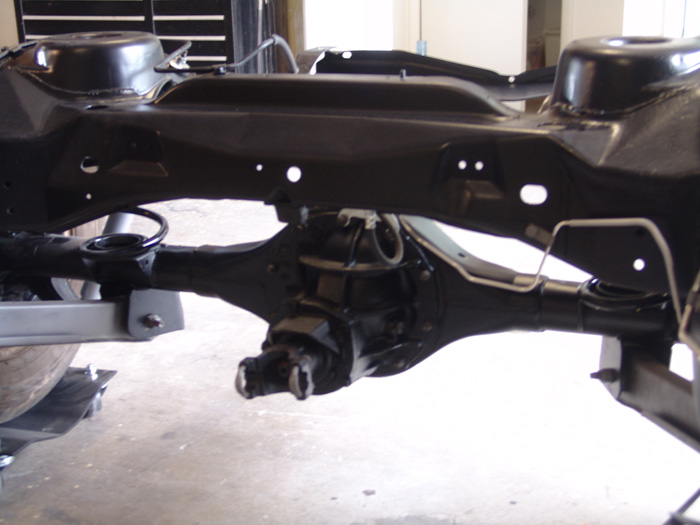
11-3 Turned the frame around so we could get better pics of the rear.
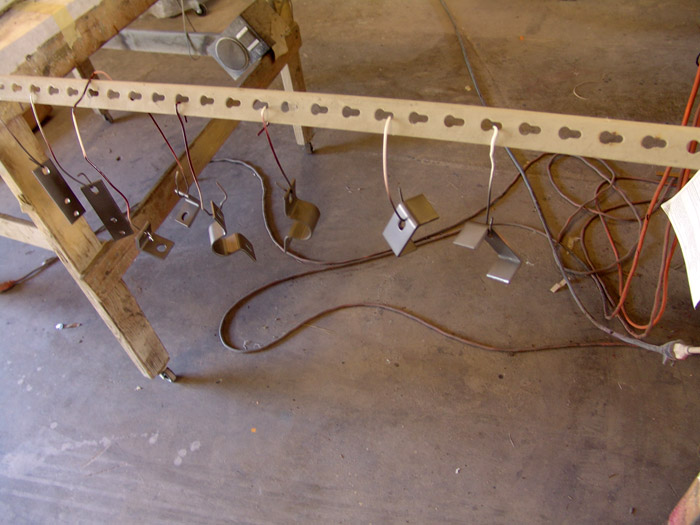
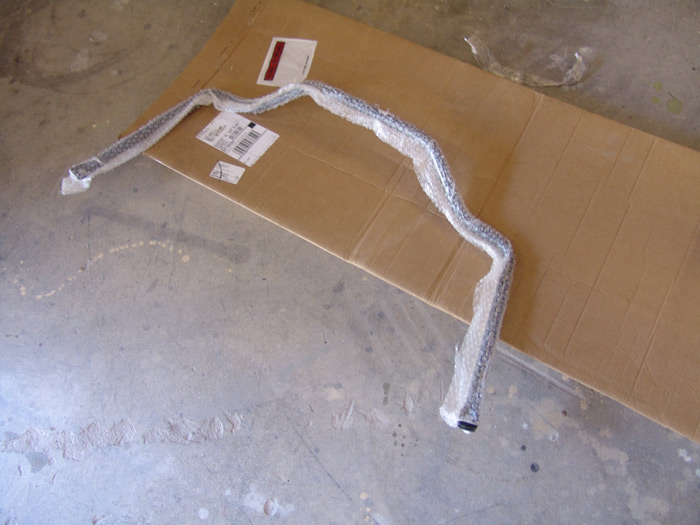
11-6 Received my new Addco sway bar. Painted the smaller pieces in a cast color so it would look more original.
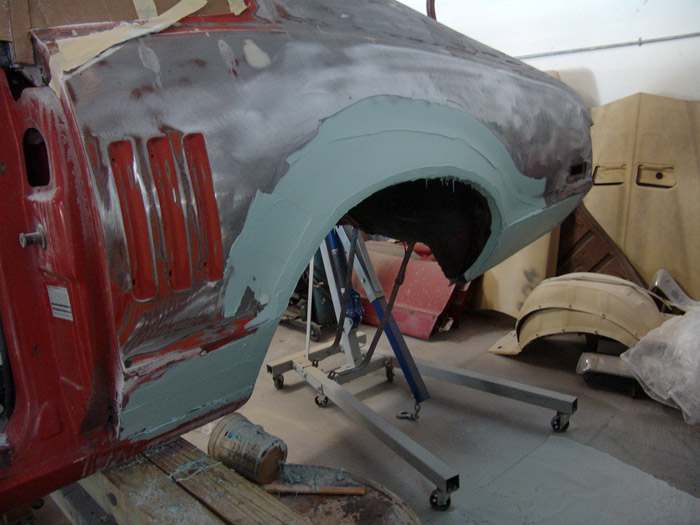
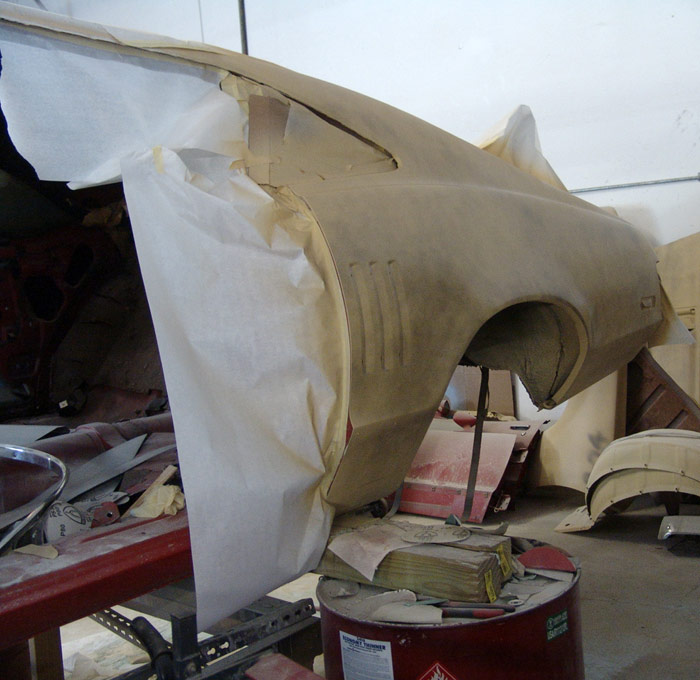
11-6 Bodywork on the left quarter
11-7 Almost ready for primer
11-7 Left quarter in primer

Pic of the right quarter
Right quarter blocked and reprimed
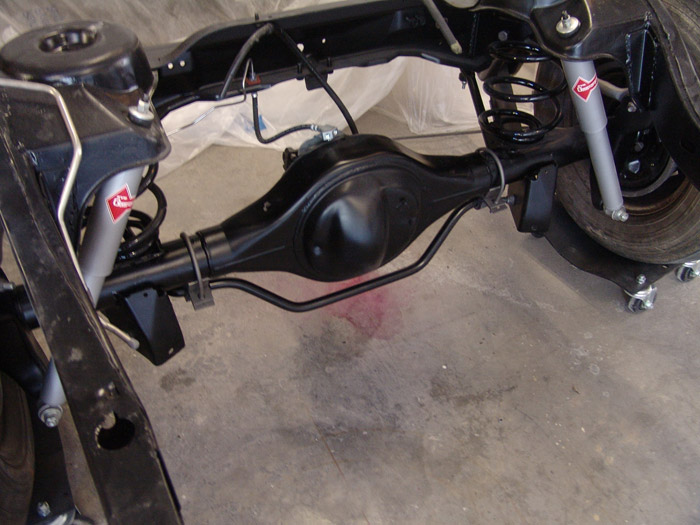
11-9 Rear sway bar installed
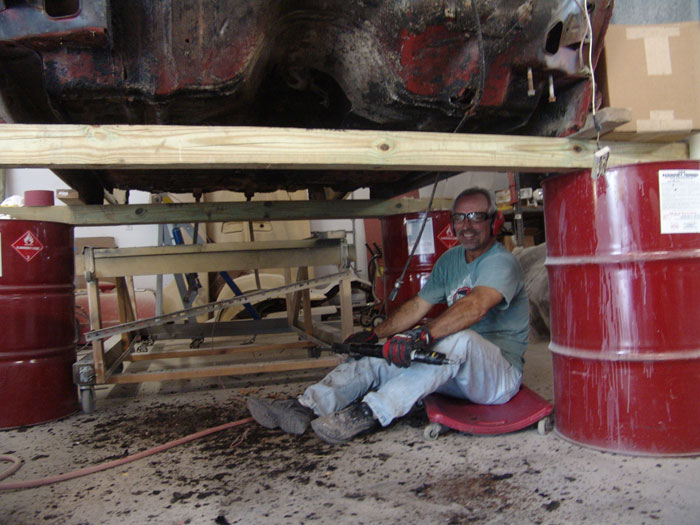
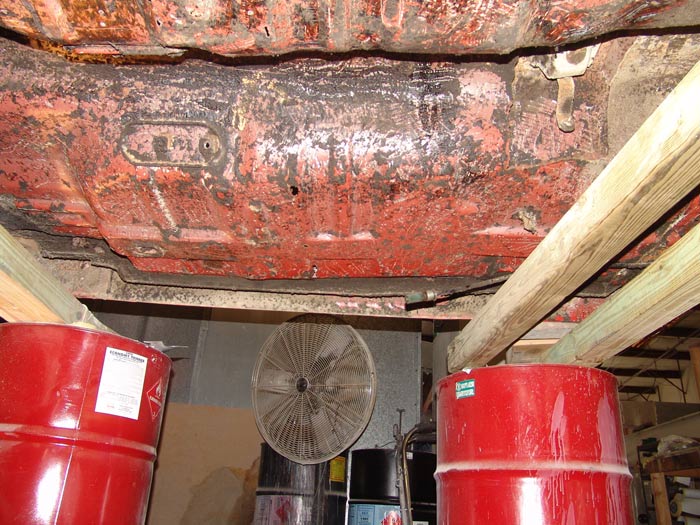
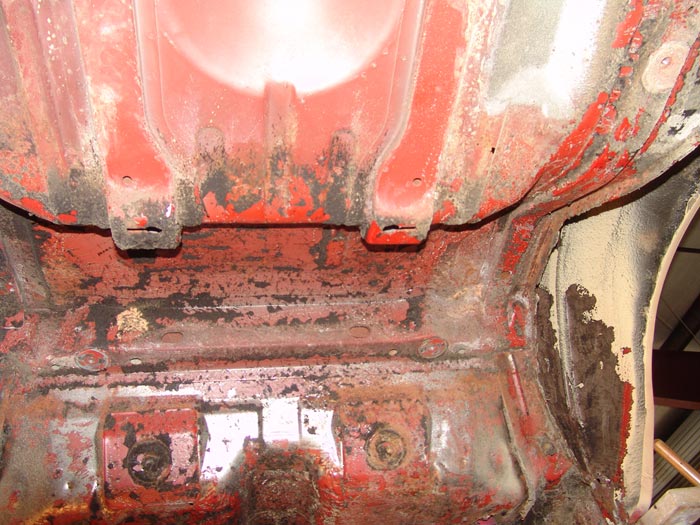
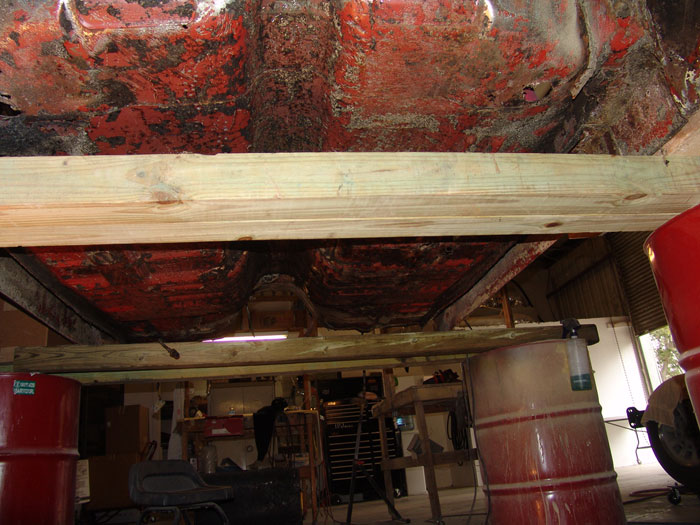
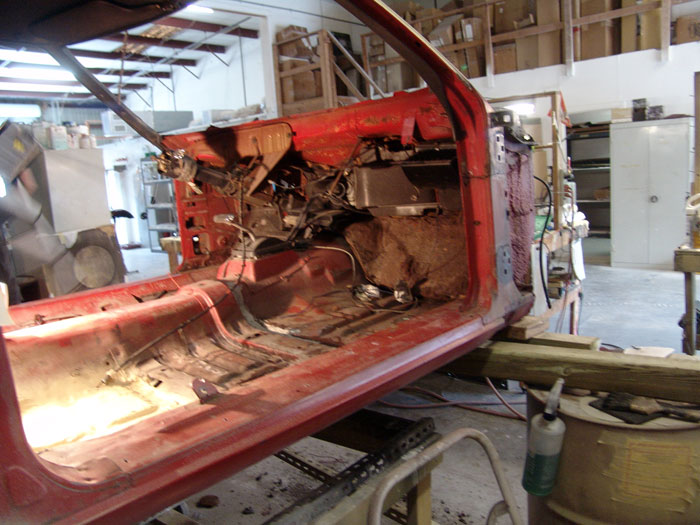
11-14 Digging in (literately on removing the undercoating. I’ll probably just clean up the floor and re-undercoat. It must have had 5 undercoating jobs on it.
This stuff was thick!
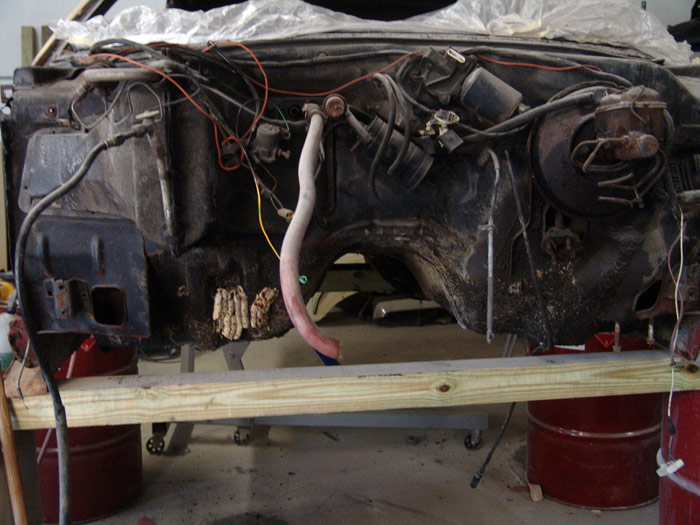
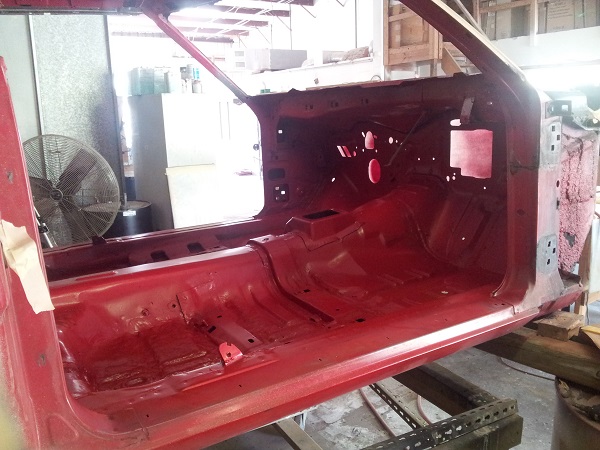
Firewall reference pic. Notice the wasps nest! 5 years of sitting around.

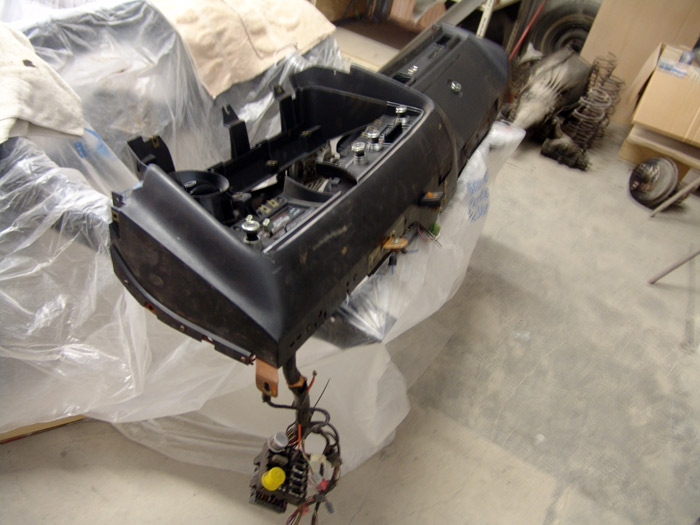
11-25 Out comes the dash
The body in raw form
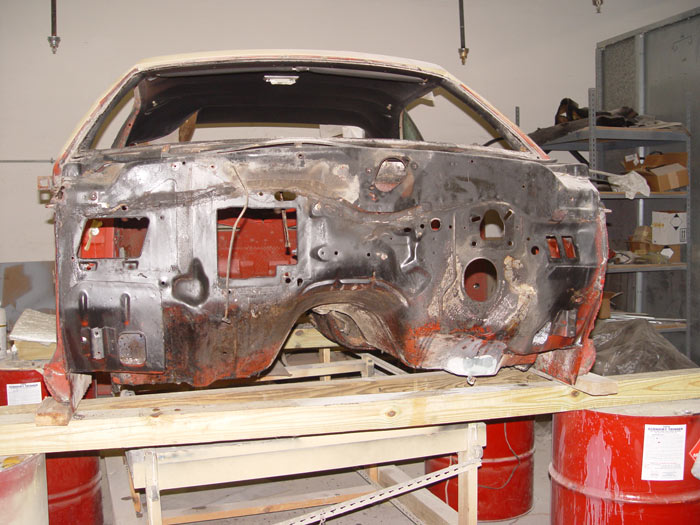
A gutted firewall
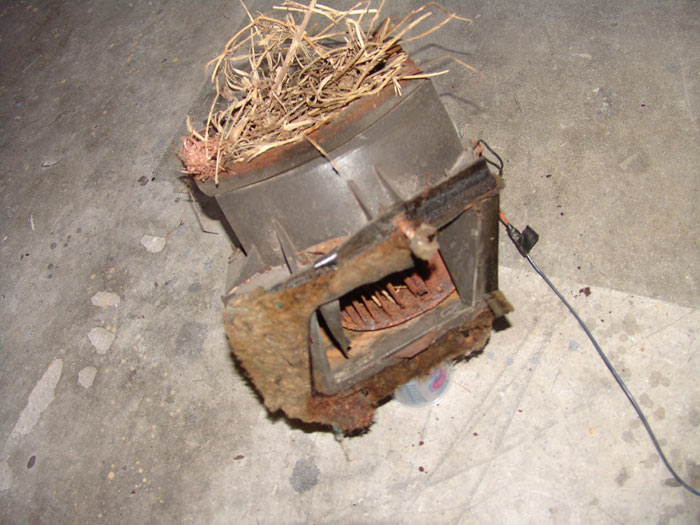
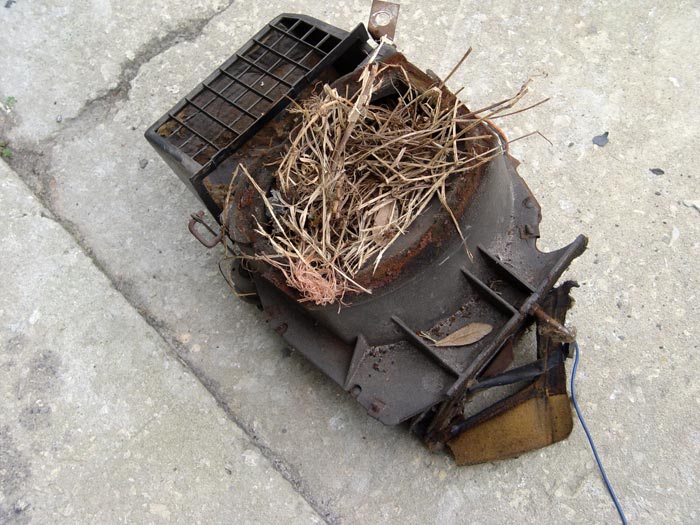
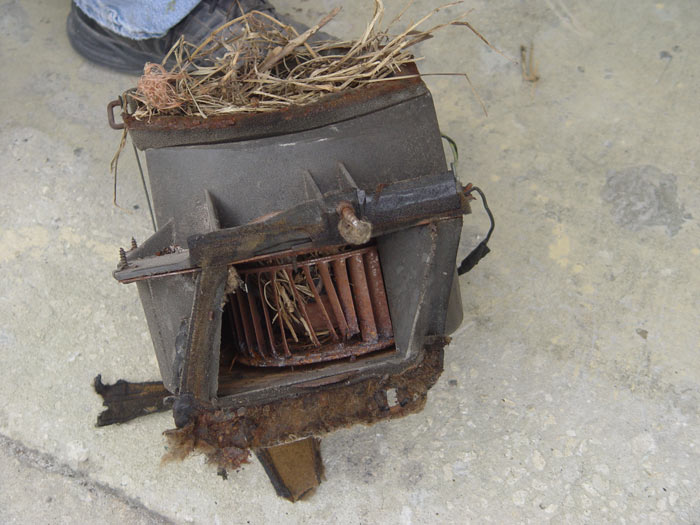
Results of a car that sat for 5 years+
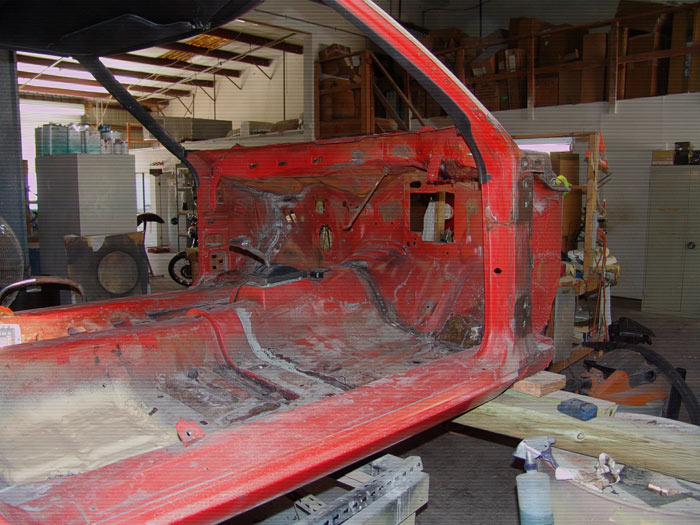
11-28-13 Painted the inside
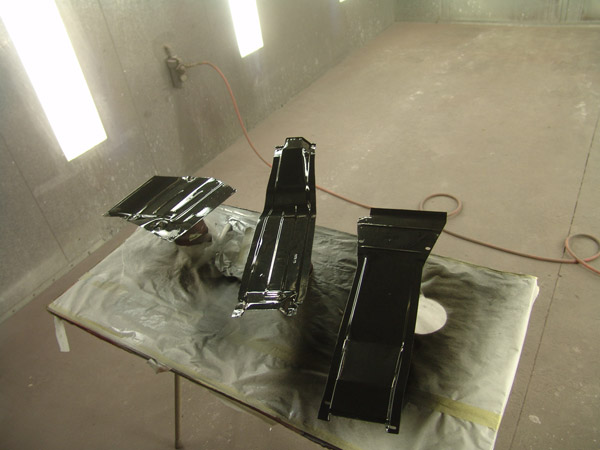
11-29 Painted the pieces that cover the wires going back to the trunk. These were right after painting.
They look gloss, but dried to a semi-gloss
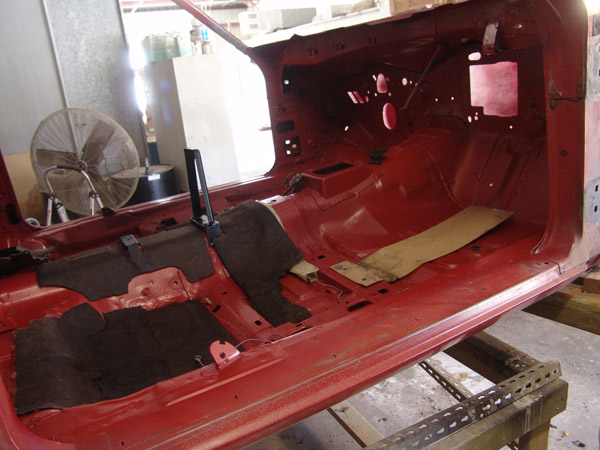
11-30 Started putting back together the parts I took out when I painted the interior. I cleaned the sound deadeners.
I will reuse most of them as they were in very nice shape, and very thick.
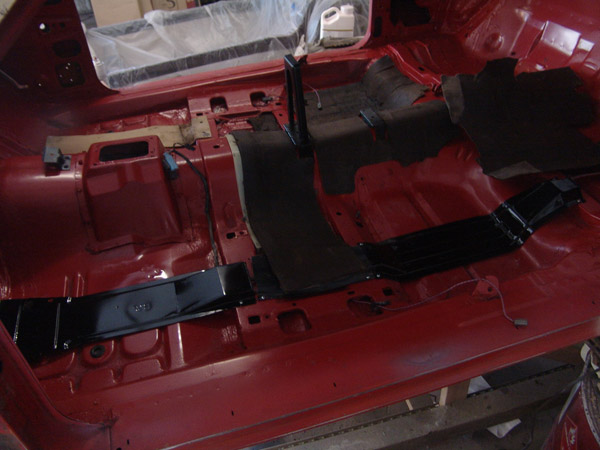
I ran some speaker wire along with the rest of the wires (inc orig speaker wires) in anticipation that I will buy better speakers for the rear deck.
Tools, equipment, paint and more.
Auto Body Store


More
Comments